Image within an Image
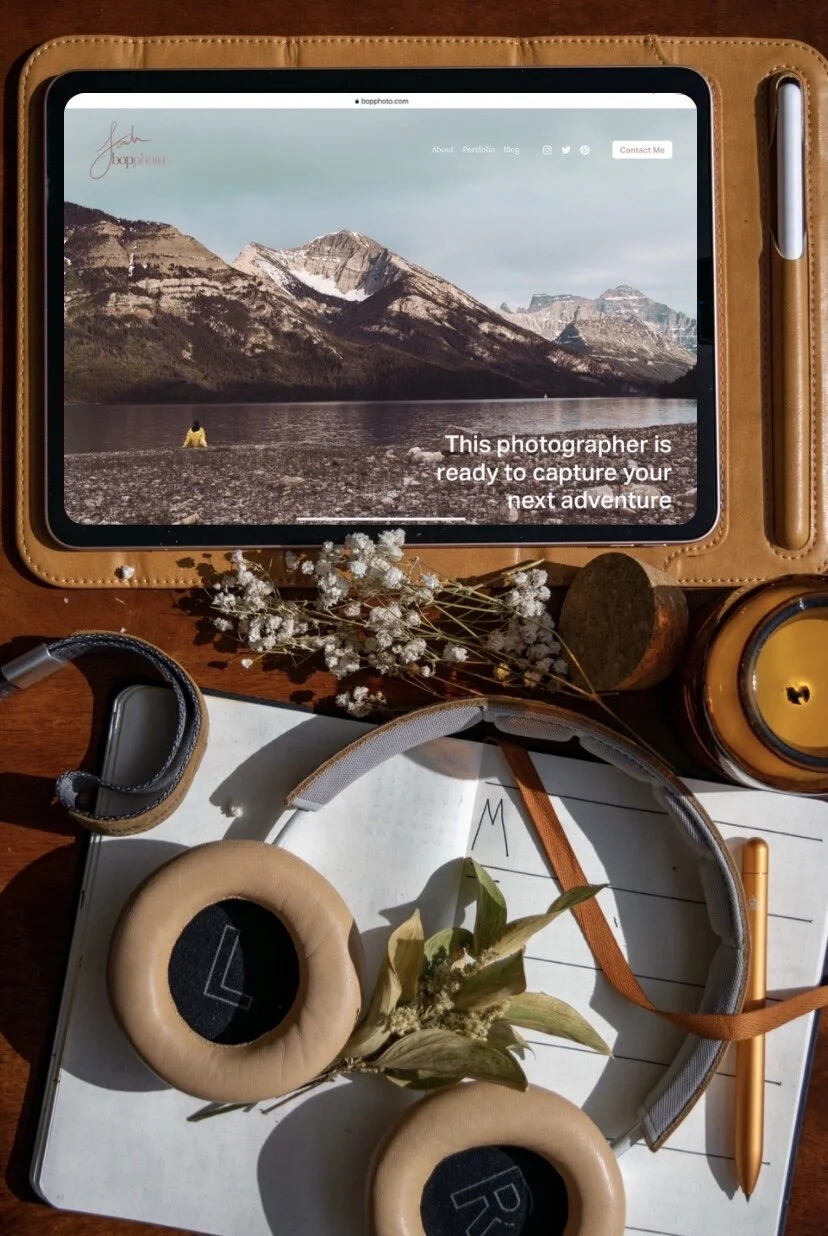
Have you ever wondered how to get that sweet effect where you superimpose an image within another image? And no, I’m not talking about an overlay or a double-exposure. I’m talking photo-inception! Well, let’s dive right in.
Quick side-bar: while we’re at it, let’s talk about video too! Because, sometimes you just want to level it up and add that extra umph to something, right? Also stick around to the end for a IG life hack version of this tutorial!
Get a good framing shot
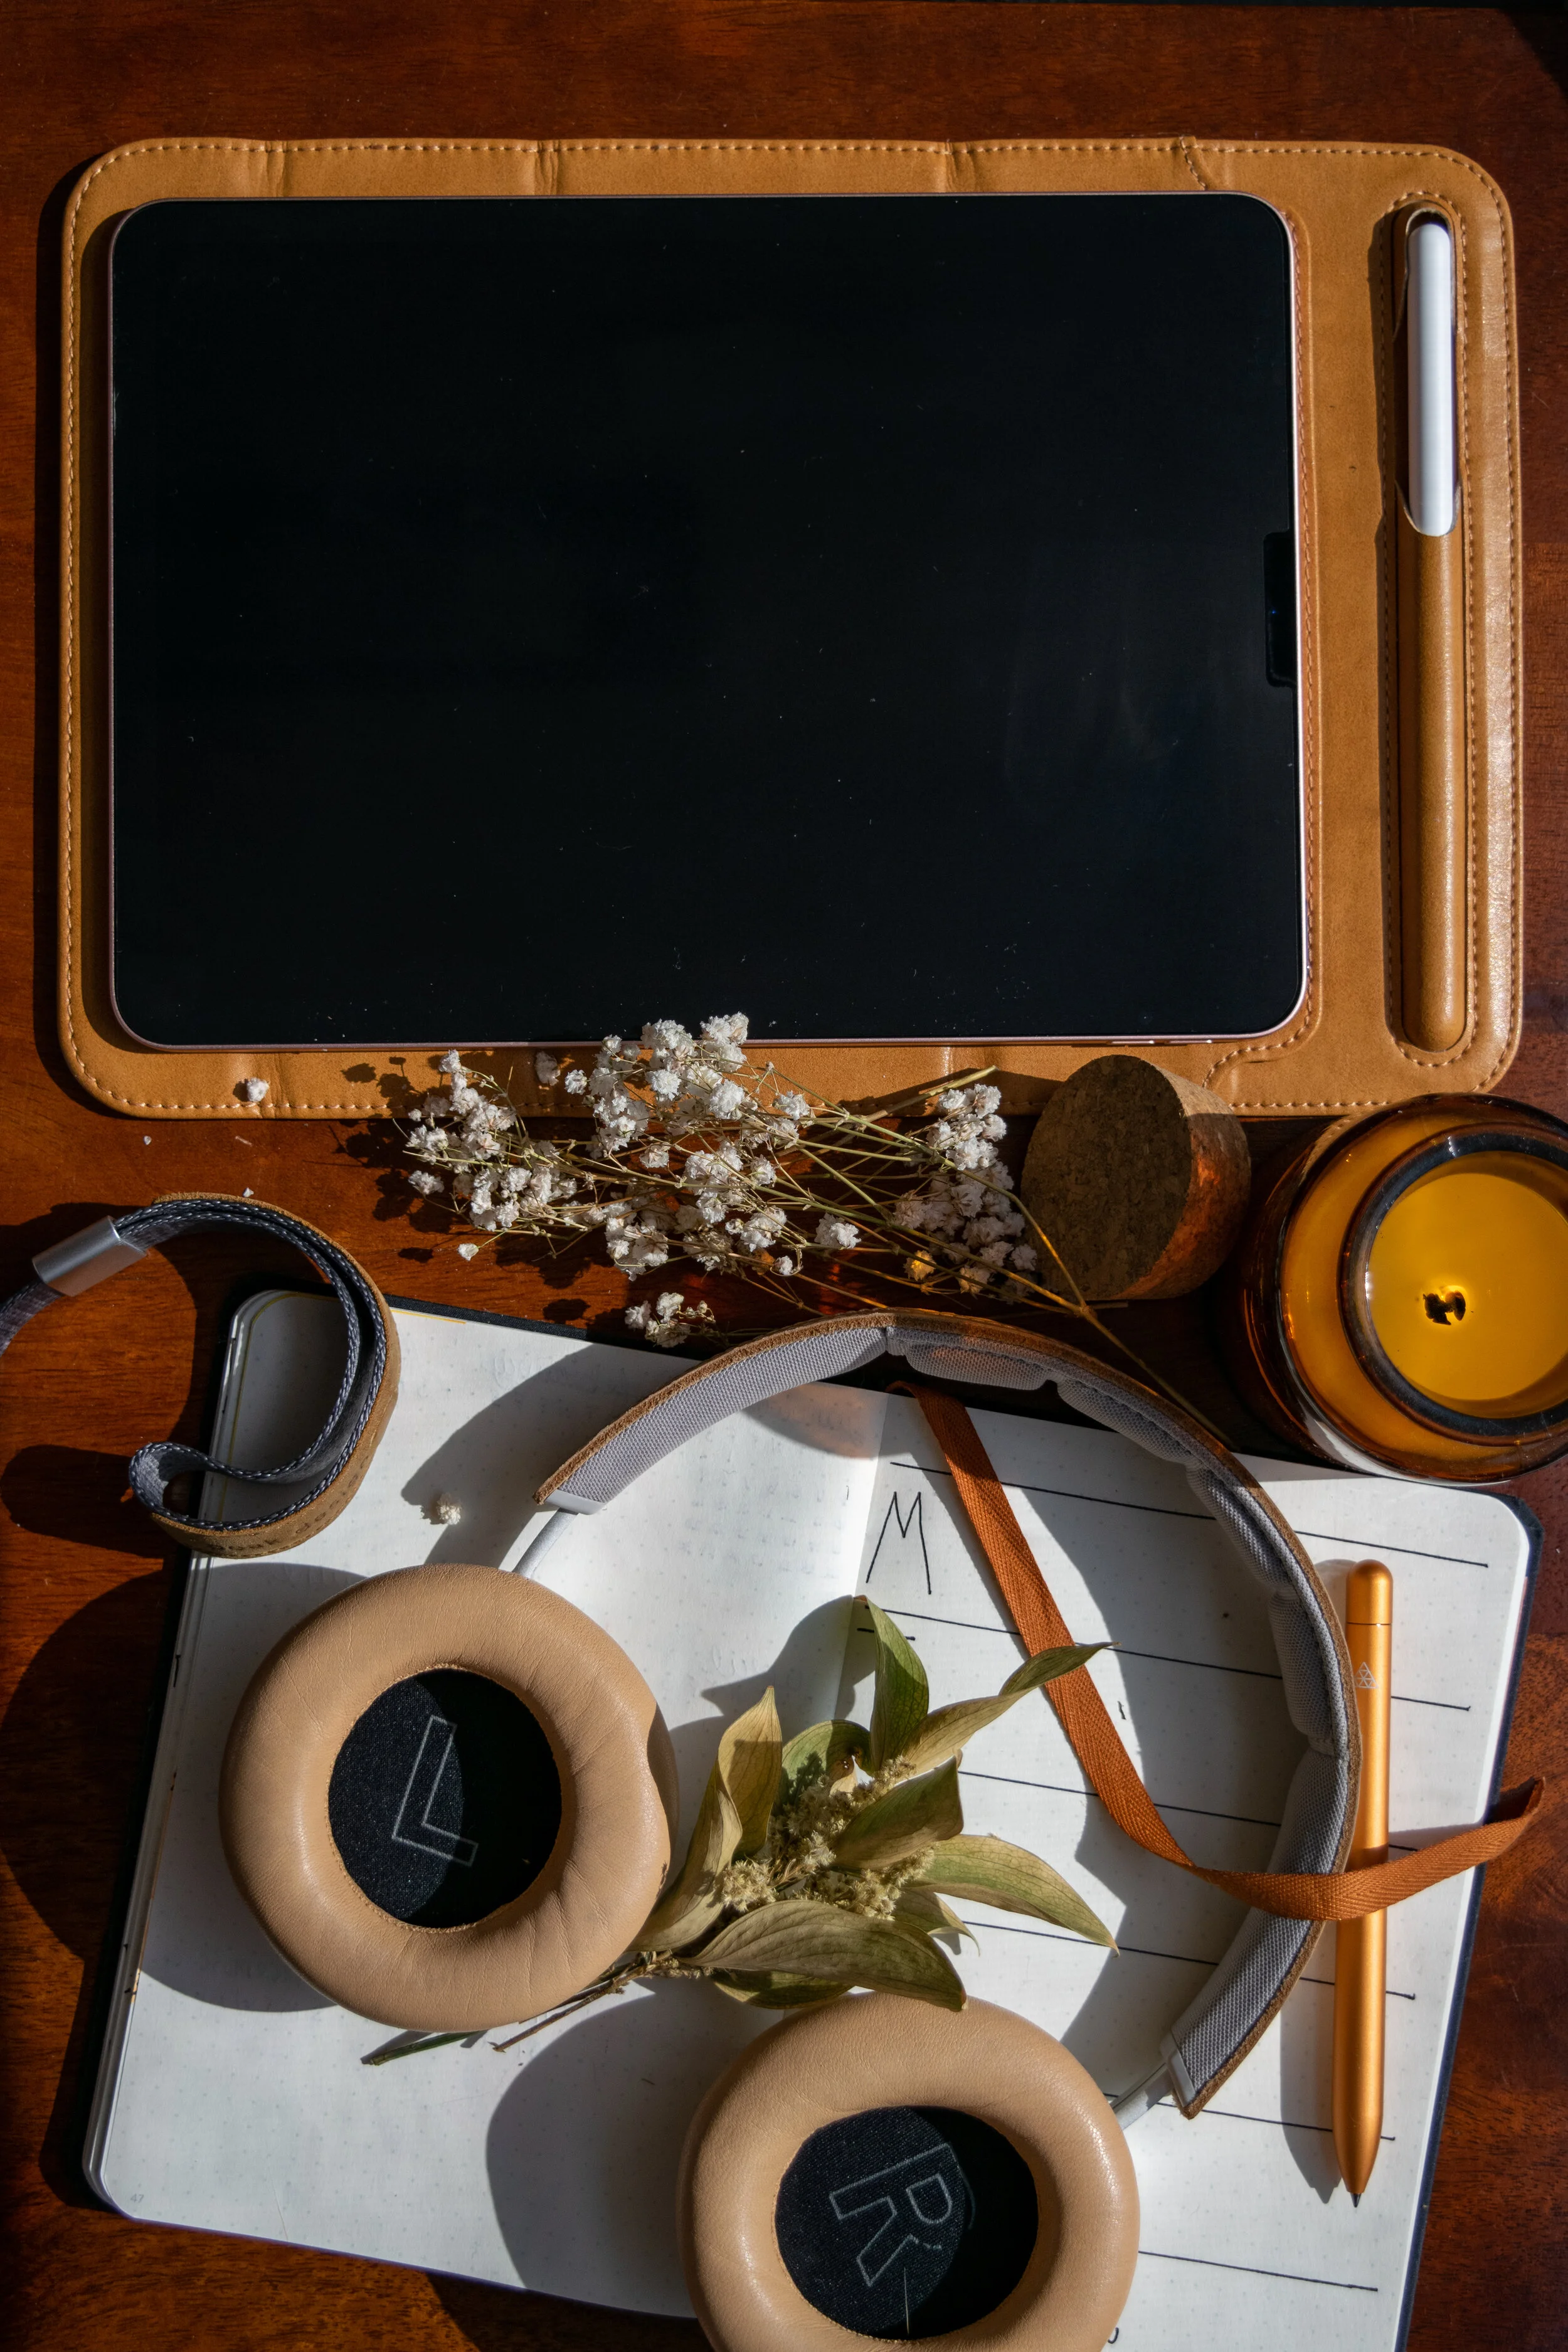
Take the first photo that you want to be the “frame” of your main image. In my case, I went with a flat lay of my desk space. As with other shoots, be sure to get multiple iterations of the same shot. I ended up only having one usable frame out of 12-ish that was just right.
Another way to avoid going back and forth from shooting to editing and back again to shooting, is to get creative and think of a few different types of frames. By the time you get to the editing table, you may realize your original idea isn’t going to work. So it will be helpful to have a few different ideas in your pocket, in your pocket, in your back pocket. (Lyrics to Vulfpeck’s “Back Pocket”)
Repeat the process!
That pretty much says it all.
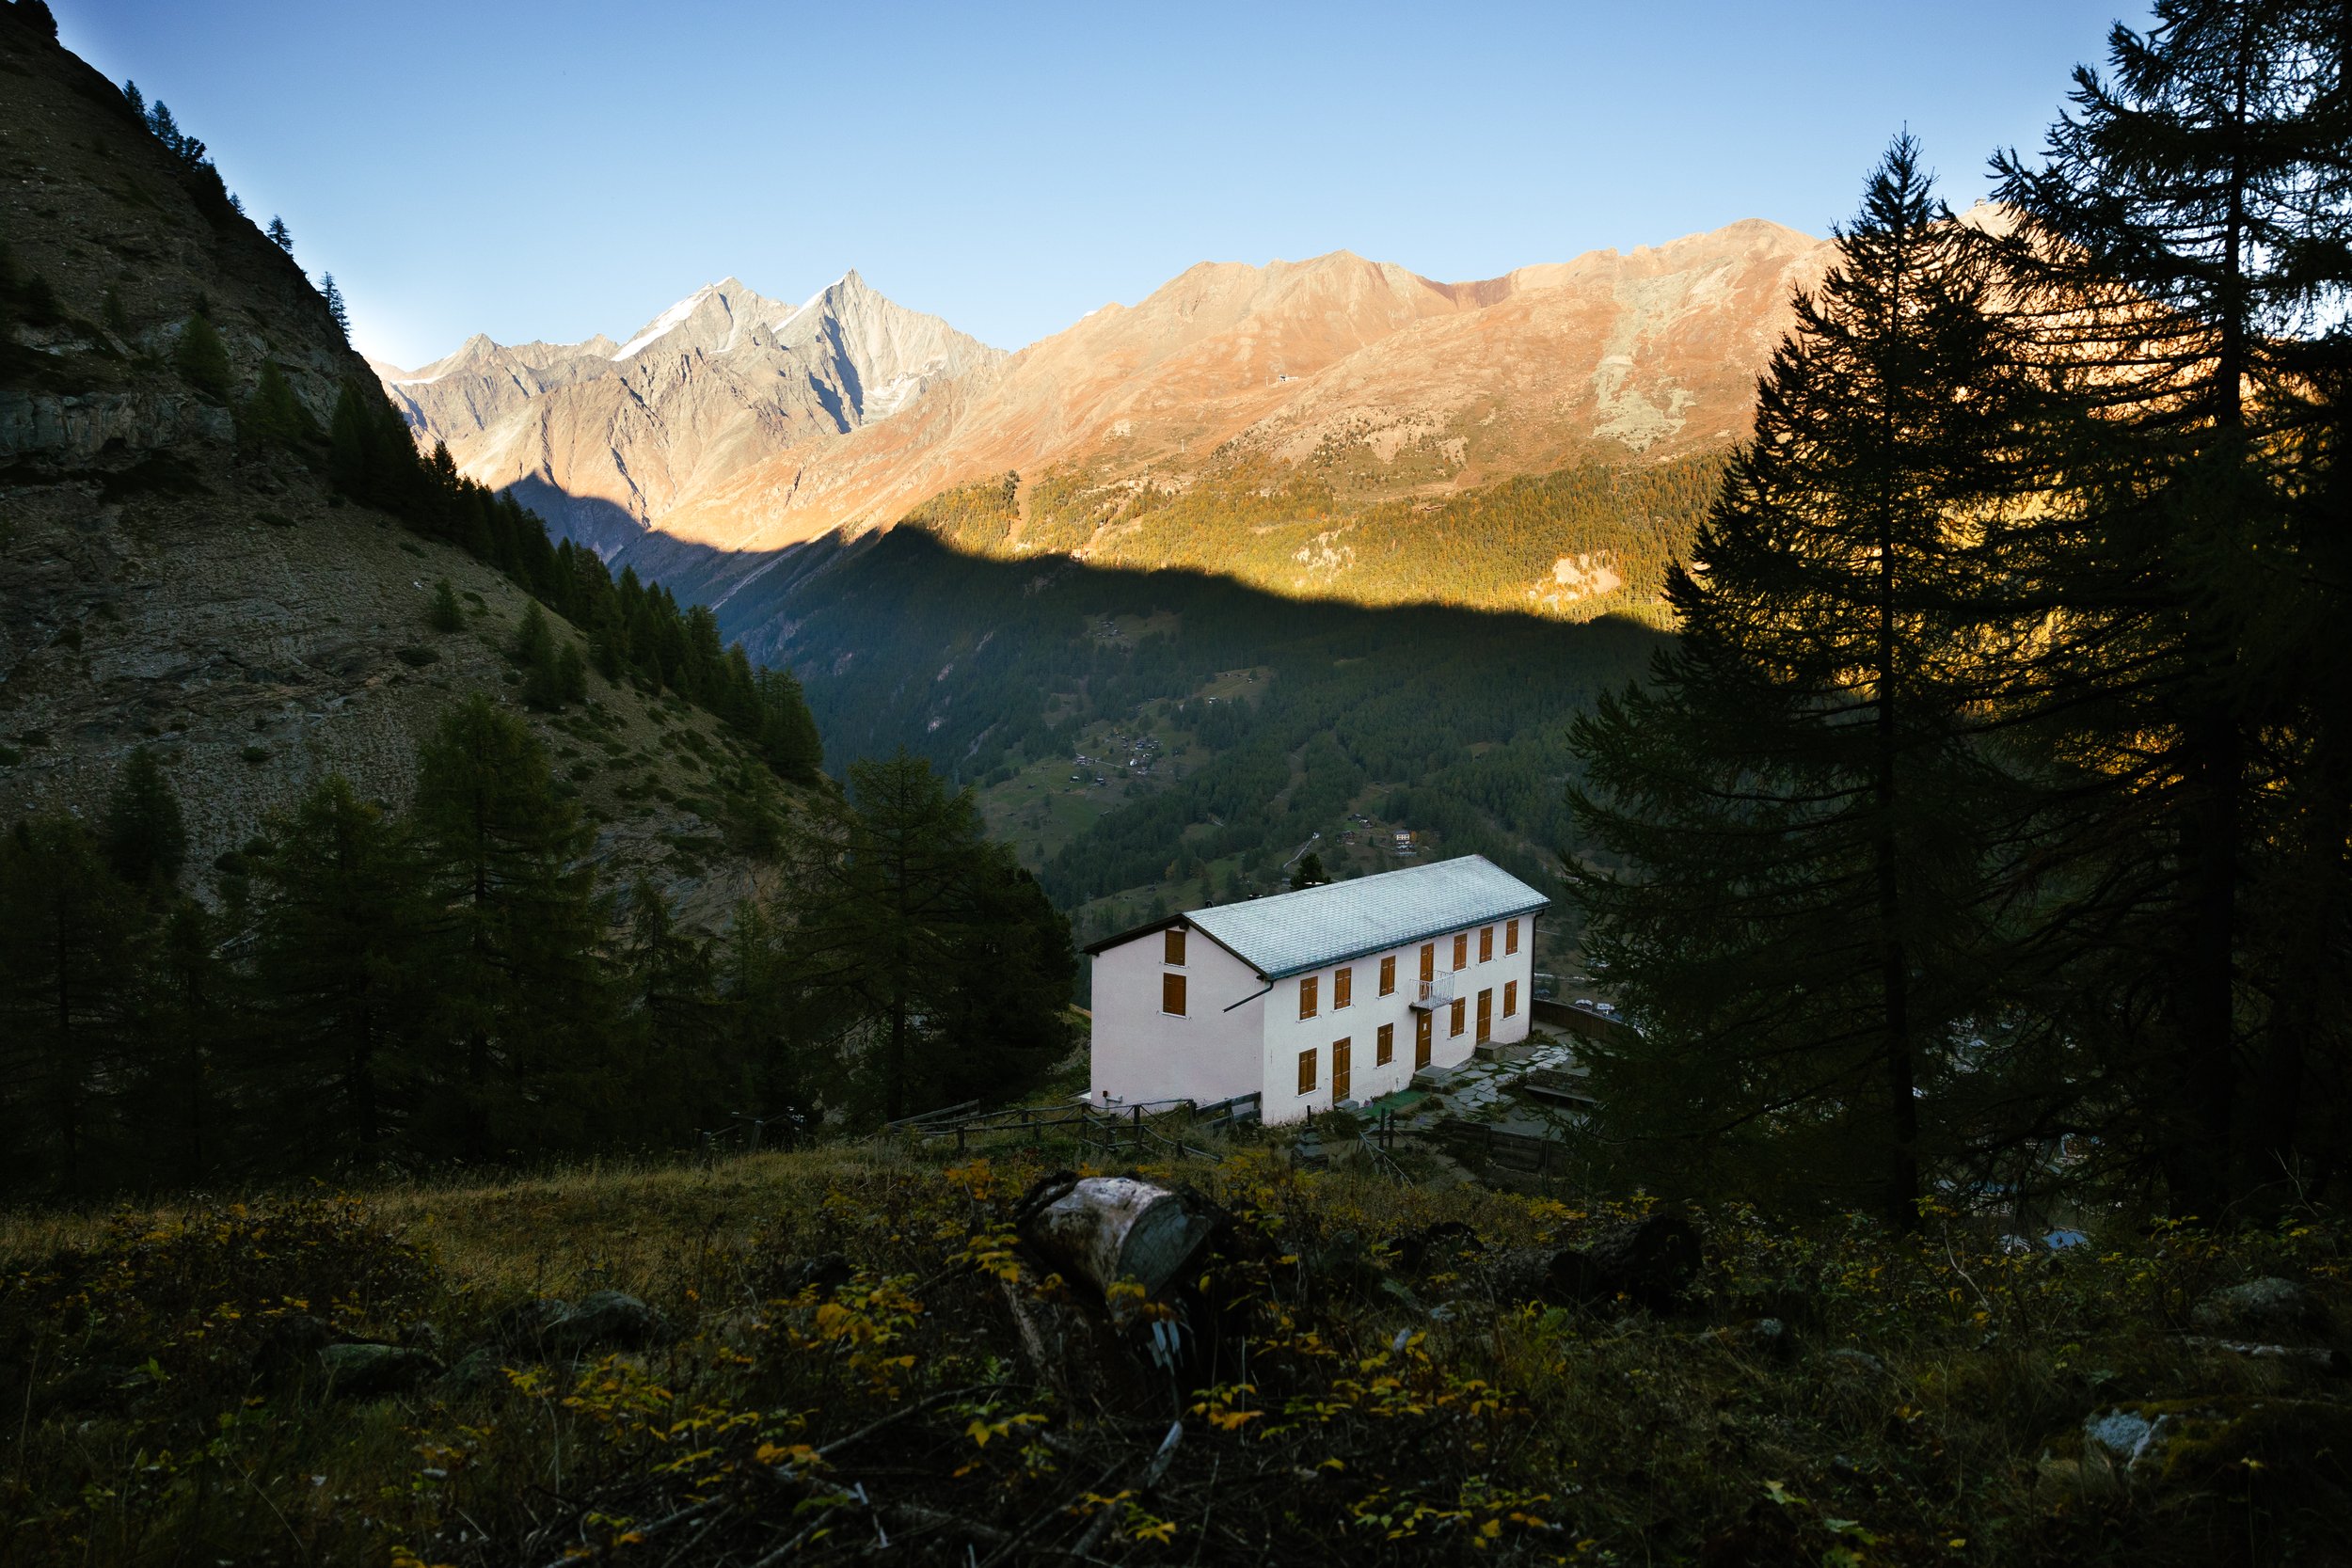
Well, not quite. For the second photo, you’ll want to figure out the orientation that your inner image (within the frame) should be. If you took multiple framing shots, as noted above, then you may need multiple options for your second inner image in terms of framing and cropping.
Of course that can certainly be corrected in post with cropping and whatnot. However, in this lesson, framing is everything (heh). We’ll want to get that composition right before we get to post-processing.
So, now that you’ve got multiple shots, from multiple angles, with multiple different orientation options. You’re ready to pull all those sweet shots into your photo editing app to give em a saucy edit. For this step, you’ll want to be sure your edits are the same so that the two images feel like one cohesive unit.
And just like that, you’re now ready for what’s next. Hold on tight, this is where the excitement really starts!
Let’s get layered!
If you aren’t already, you’ll want to import both of these photos into an editing app with layers for this next step - such as Photoshop. In order to create the image within an image effect, you will need to create a layer for each image, with the inner image being placed on the top layer.
For these next few steps, I’m going to put it quickly and concisely:
Import both images into Photoshop (or whichever app you use)
Open the framing shot
Add a new layer
Open the second image tab
Select copy and paste it into the new layer
Transform and scale the layer to fit
Move inner image into frame
Celebrate, cause you did it!
Voila! Now, if you chose to make the framed image a video, then the next few steps will be slightly different. I will lay both options out here.
Photo:
It’s export time! Export your new and beautifully arranged photo within a photo, A.K.A. photo-inception masterpiece. Be sure to export at the highest resolution possible and export as both a .psd (for photoshop) and a .jpg, so that you can go back and make adjustments late if need be.
Video:
For video, there are specific instructions to follow using photoshop. You will want to export as a “Save for Web” file type. As for all the specifics, here is a really great Adobe resource for getting all those adjustments just right: Create a GIF in Photoshop
Hey there! It’s bopphoto, aka Sarah Bopp, your internet pal and photographer. Lover of coffee, plants, nature, and old cameras.
Here you will find everything from my photoshoots, posts on tips & tricks, things that inspire me, and some behind the scenes content.
Peace & love,
Sarah
Looking for something?
Recently on the blog:
Follow along with us!
No-editor Version:
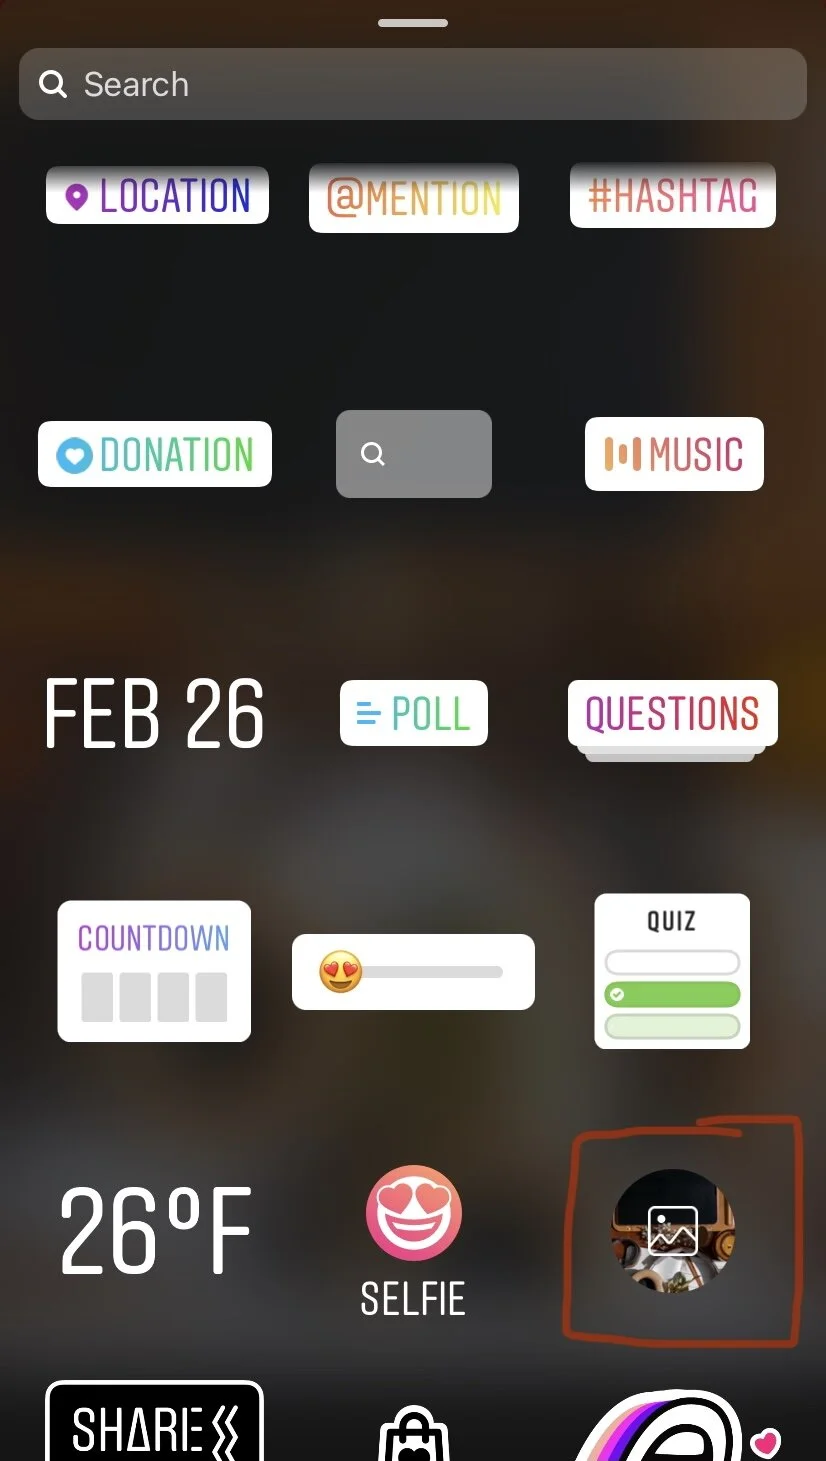
If you don’t have any fancy-shmancy editing software and you just want to create a sweet image for the gram (Instagram that is), I’ve got just the thing! Believe it or not, this can all be done within IG stories - see screenshots above. All you need to do is, first select the framing shot and add it to stories. Then click the stickers icon in the top right. Select the photo you want to layer. Adjust it as needed, and boom! You’re done!!

